
A Comprehensive Guide to Setting Up Google Search Console for Squarespace

For small business owners, search engine visibility for your Squarespace website is a crucial resource for attracting customers and clients. Google Search Console is a helpful tool that can assist you in monitoring and enhancing your website's performance on Google's search results, making it easier for your audience to find you. In this guide, I will walk you through the process of establishing Google Search Console and linking it to your Squarespace website, allowing you to optimise your online presence.
What is Google Search Console?
As a website owner, you can use Google Search Console, a free web service provided by Google, to monitor and manage your site's performance in Google's search rankings. This tool provides valuable insights into your website's visibility, indexing status, and overall search performance. This helpful tool allows you to:
View how your site appears in Google search results.
Identify and fix any issues affecting your website's search performance.
Submit a sitemap to Google so that it can index your website faster.
Monitor and improve website usability on mobile devices.
Check for security issues.
Analyse your website's performance and search traffic.
What information does Google Search Console display?
Google Search Console displays various data, including the top queries people use to find your web pages on Google. It will also show the number of views and clicks each search term receives.
You can view the number of clicks and impressions for your high-performing pages and the total clicks and impressions your website receives during a specific time frame.
You can also view which countries and devices are clicking on and viewing your website the most.
Additionally, you can see the percentage of impressions that resulted in a click, known as the average click-through rate (CTR), and your average search ranking in Google search results.
How to set up Google Search Console
To set up Google Search Console with your Squarespace website, follow these steps:

Step 1: Sign in or Create a Google Account
To set up the Google Search Console, you must have a Google account that will be linked to the Console. If you do not have an account, you will need to create one. If you already have an account, log in.
Step 2: Access Google Search Console
Visit the Google Search Console homepage: https://search.google.com/search-console/.
Click on "Start now" or "Search Console" to begin the setup process.
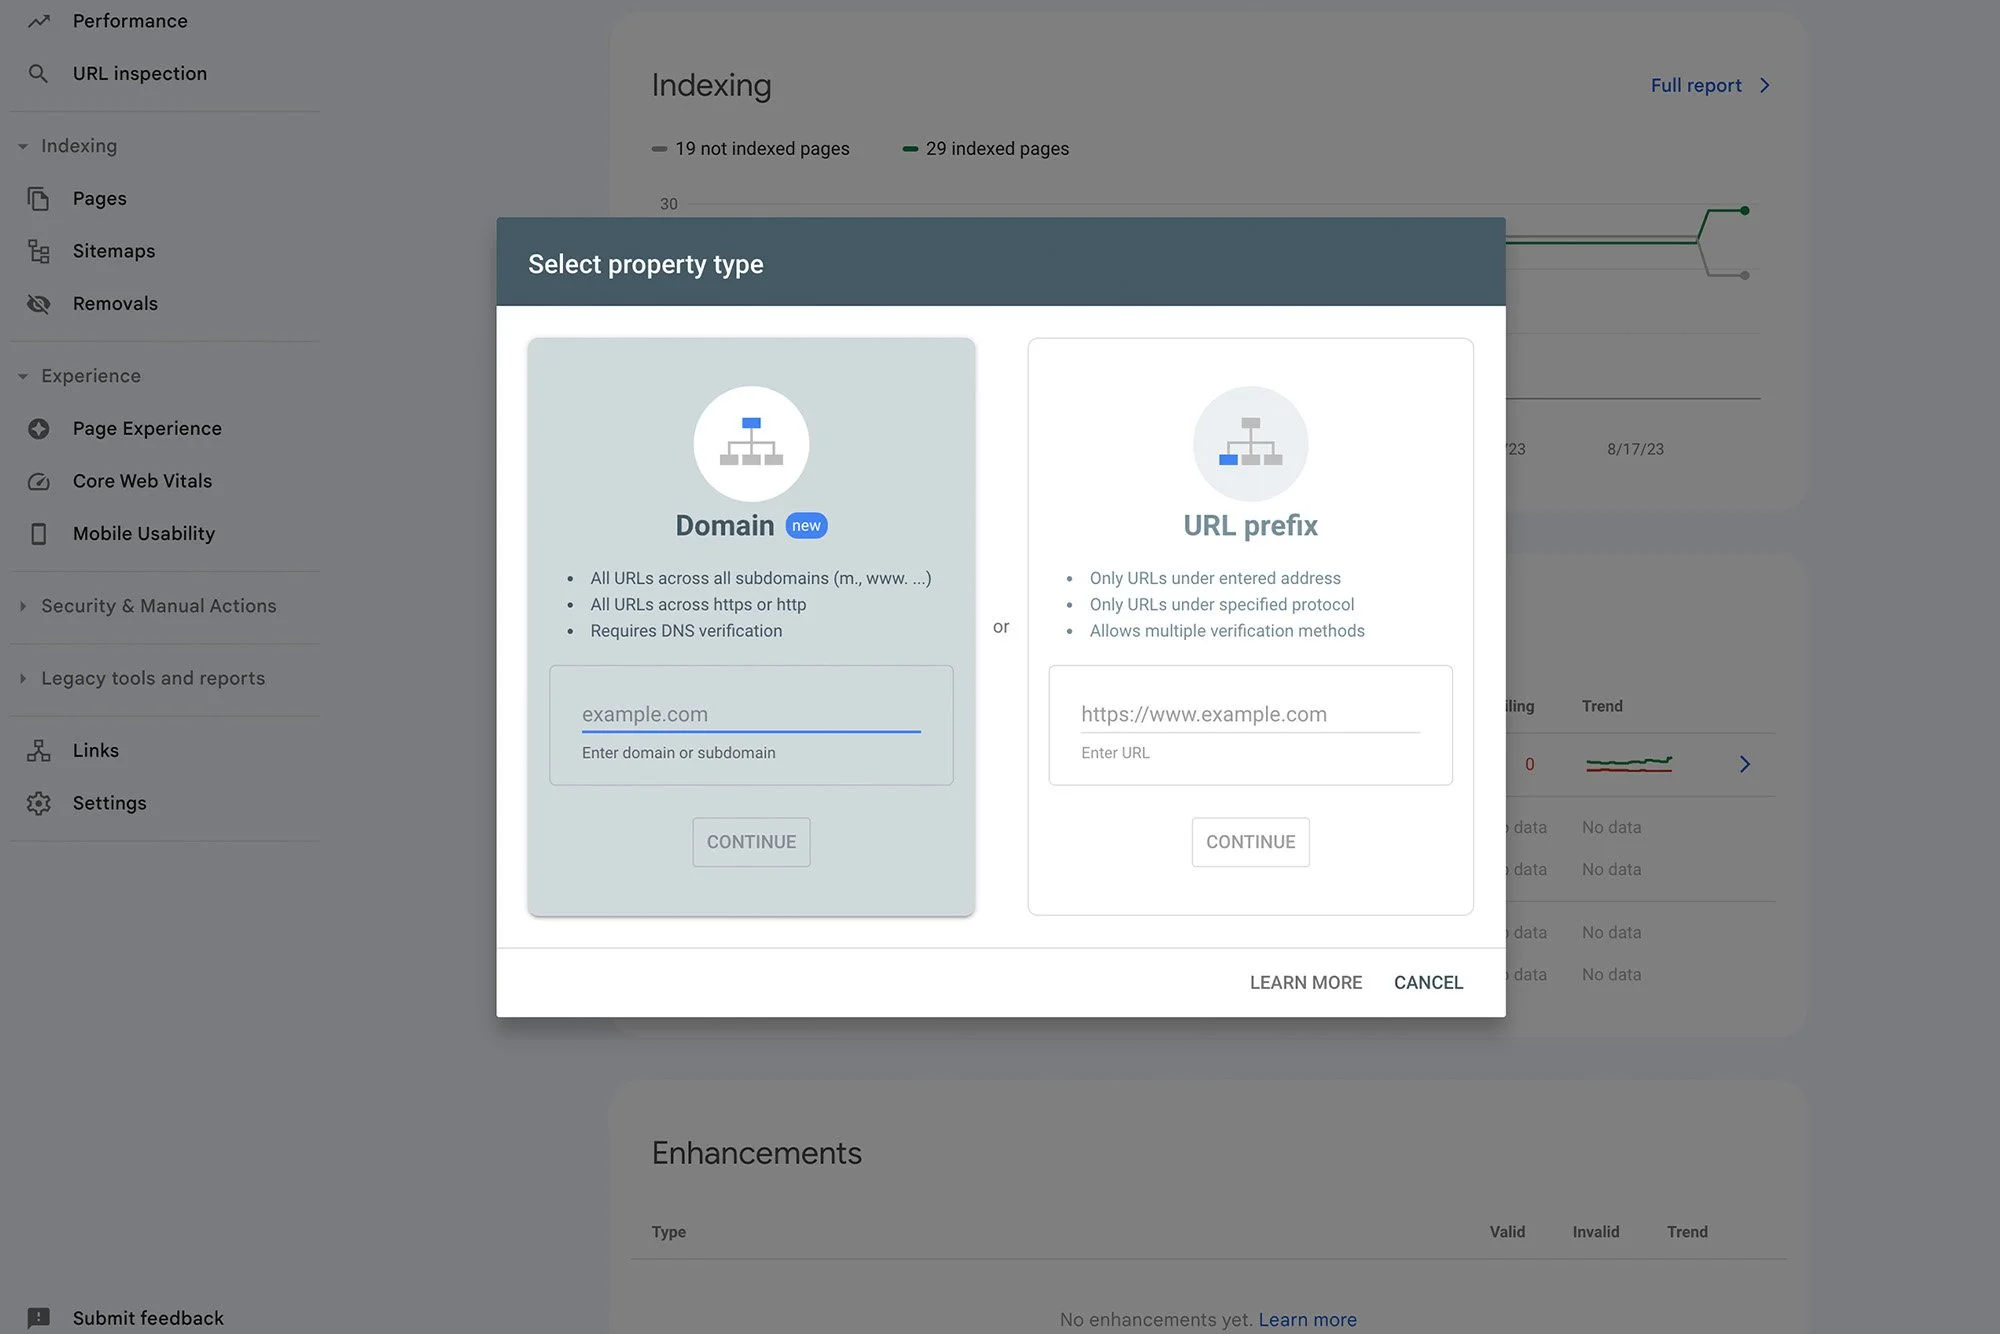
Step 3: Add Your Website Property
Click the "Add Property" button.
Enter your website's URL in the provided field (e.g., "https://www.example.com"). Make sure to use the exact URL format.
Click "Continue."
Step 4: Verify Ownership
To utilise all the features offered by Google Search Console, verifying ownership of your website is necessary. For Squarespace, using the HTML Tag option to verify your website is recommended.
Step 5: Copy the Meta Tag
Select the "HTML Tag" verification method.
You'll see a meta tag code displayed. It will look something like the example below.
Copy the content value (the part in quotes after "content=") from the tag.

Step 6: Access Your Squarespace Account
Now, you will need to access your Squarespace account to add the verification code.
Log into your Squarespace account.
In the Squarespace menu, click on "Settings."

Step 7: Add Google Verification Code to Squarespace
In the Settings menu, select "Website."
Scroll to the bottom of the menu and select "Website Tools" underneath the "Utilities" section.
From the "Website Tools" menu, click on "Code Injection."
In the Header section, paste the Google verification code you copied in Step 5.
Click "Save" to save your changes.
Step 8: Verify Ownership on Google Search Console
Return to Google Search Console:
Click "Verify" on the Google Search Console page where you added the verification code.
Google will check for the verification code on your website. If it finds the code, it will confirm ownership, and you'll gain access to your website's data in Google Search Console.
Step 9: Submit a Sitemap
A sitemap helps Google understand the structure of your website, making it easier to index your pages. Squarespace will automatically create a sitemap for you. This is usually your domain followed by /sitemap.xml (e.g. www.yourdomain.com/sitemap.xml)
To submit a sitemap:
In Google Search Console, select your website property.
Click on "Sitemaps" in the left-hand menu.
Enter the URL of your sitemap (e.g., "https://www.example.com/sitemap.xml") and click "Submit."
Step 10: Explore Your Search Console Dashboard
After verifying your site and submitting the sitemap, you can explore valuable information in the Google Search Console. Pay attention to these essential sections:
Performance: Monitor your website's search traffic, impressions, clicks, and average CTR.
Coverage: Check for indexing issues and errors that might affect your site's appearance in search results.
URL Inspection: Enter specific URLs to check their indexing status and any issues Google has encountered.
Mobile Usability: Ensure your website is mobile-friendly to cater to mobile users effectively.
Security Issues: Stay informed about any security concerns or manual actions that Google has taken against your site.
As a business owner, setting up Google Search Console to enhance your Squarespace website's search engine performance is essential. Once you've completed the setup process, you'll gain access to valuable insights, tools, and data that can boost your website's search ranking and visibility on Google. Remember that the Search Console is an ongoing resource, so it's essential to monitor it regularly to optimise your site's performance and achieve optimal results.